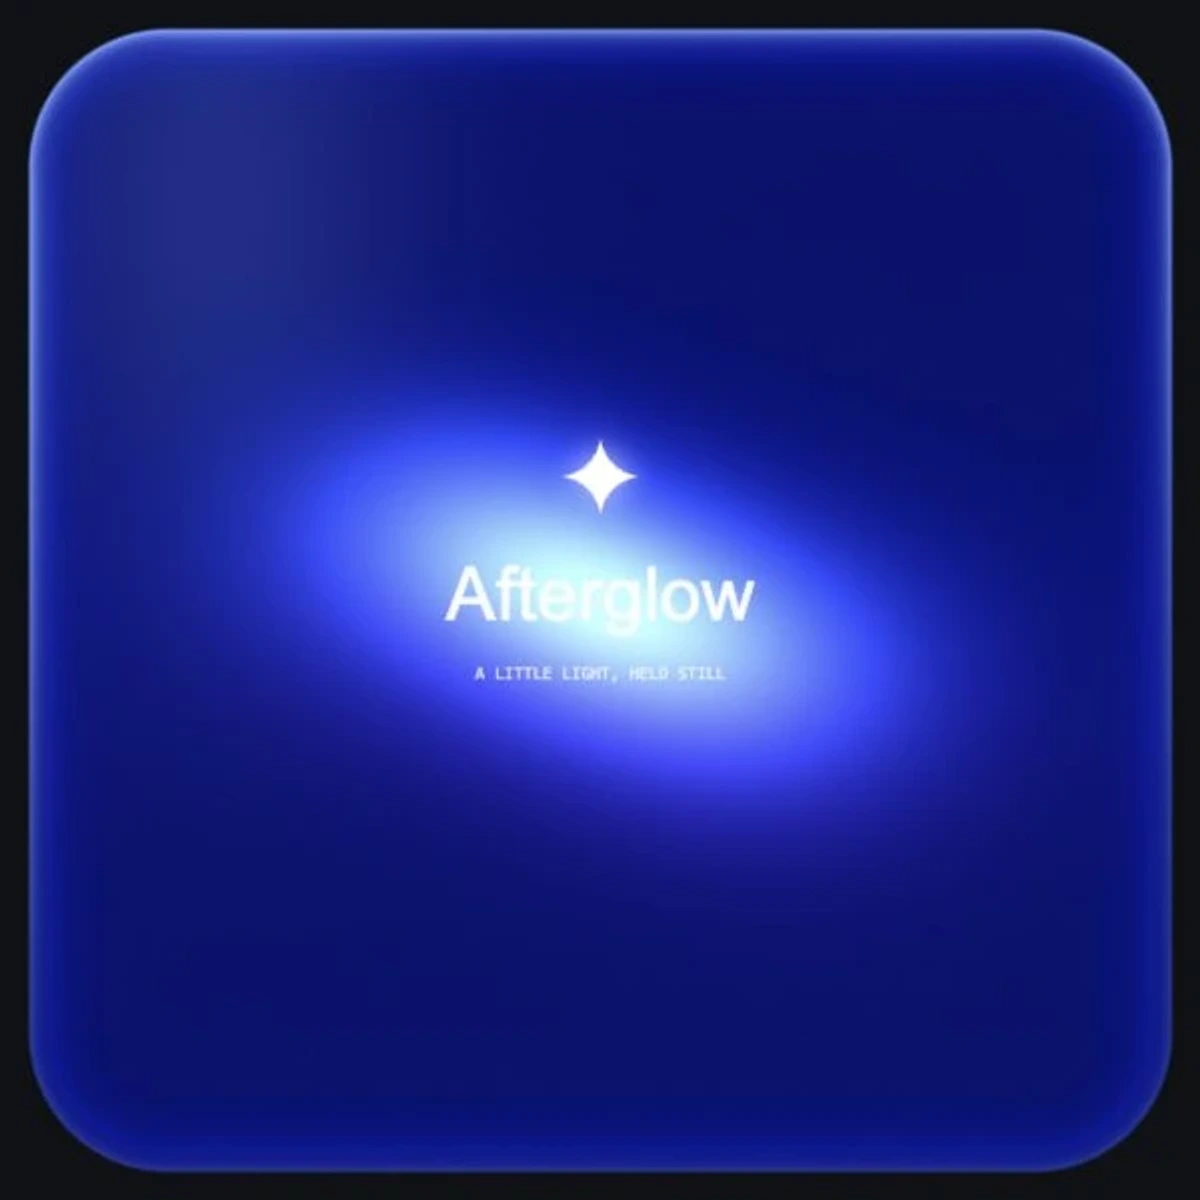
The glow works because most of the square stays quiet. A pale centre arrives through saturated colour, then fades into a dark base. A rim, a fold or a small mark gives the eye somewhere to stop.
This studio builds six original treatments from colour fields and shape masks. The glass and cube use two-dimensional shading to suggest depth. Explore without setup; the working starter contains the shader, editable typography and controls.
01 / START WITH A POOL OF LIGHT
Let colour fade with distance.
Give a glow a centre and a radius. Its influence is strongest nearby, then falls off smoothly. Use one coloured pool for the body, another for the transition and a pale one for the brightest region. Elliptical falloffs turn a circular spot into a broad band.
influence = exp(−distance² / radius²) colour = dark base + Σ light × influence
Try: select Glow. Drag the +. Compare Softness at 20% and 80%. Increasing softness spreads the influence; it does not blur the whole page or its type.
02 / GIVE THE GRADIENT A DIRECTION
Turn a spot into a current.
A smooth gradient can still feel too even. Bend the sampling coordinates with a pair of gentle waves before calculating colour. The same light fields now appear to flow. Keep the offset small enough to preserve broad, calm areas.
sample position = position + flow × wave offset
The treatments change how the colour fields are arranged. Horizon places light below the frame. Folded light uses a thin bright seam and widening beams. Colour current bends a warm and cool band together. They share the same controls, but give light different roles.
Try: choose Colour current and select Flow. Move Colour flow from zero to 100%. Then compare it with Folded light: notice how a narrow seam changes the entire composition.
03 / MAKE AN EDGE CATCH LIGHT
Glass begins at the boundary.
The card uses a rounded-square mask. Measure the signed distance to that boundary and put a thin reflection near zero. Add a wider, dimmer band just inside it. Vary the reflection around the perimeter so the outline feels lit, rather than uniformly stroked.
rim = exp(−|distance to boundary| × sharpness)
Rounded glass uses a pale horizontal centre and a deep blue body. Frosted cube adds three flat projected faces, each with a different colour strength, and nine connected edge segments. The depth is drawn, not refracted through a three-dimensional glass volume.
Try: choose Rounded glass and select Glass. Compare Glass edge at zero and 100%. Then choose Frosted cube and look for the front, top and side planes.
04 / ADD TEXTURE WITH RESTRAINT
A little grain. Enough darkness.
Fine grain interrupts an overly smooth gradient. Use a stable screen-space noise value, centre it around zero and add only a small amount. The grain here remains still when the light drifts, so it does not sparkle or compete with the composition.
textured colour = colour + (noise − 0.5) × amount
Keep a broad dark region. If every pixel is bright, the glow loses its hierarchy. Change Glow strength before adding more effects, and check the image small: an avatar or icon needs a clearer centre than a large poster.
Try: compare Fine grain at zero and 100%. Reduce Glow strength until the main light has space around it. Use the gallery thumbnails to judge the six starting points at a smaller size.
05 / BUILD A DESIGN FILE
Keep the layers editable.
For a design-editor version, start with a 600 × 600 dark frame and rounded corners. Put broad radial-gradient ellipses inside it. Use a cool saturated pool, a warmer transition and a smaller pale centre. Apply layer blur to the light shapes while keeping text and marks on separate sharp layers.
Duplicate the frame to explore three arrangements: a glow emerging from the bottom, a bright band through the middle and two colours flowing past each other. For a glass version, add a thin pale rounded border and a softer inset reflection. For a cube, draw front, top and side quadrilaterals, give each its own gradient and join their edges with fine pale lines.
Name the layers Base, Colour pools, Reflection, Texture, Mark and Type. This keeps changes local: softening the colour should not soften the lettering. The browser studio calculates fields directly; the editor version uses arranged shapes and gradients to achieve the same visual principles.
Try: save two different treatments as a visual guide, then rebuild their light hierarchy with editable gradient layers.
06 / GIVE THE CARD A VOICE
One short word can be enough.
The final layer adds original lettering, a small caption and a simple mark. The title shrinks to fit its allowed width, so longer names remain inside the square. Leave the light enough space: text should sit in the composition, not cover every interesting part of it.
Open Card to edit the title and caption, or choose No mark for a quieter result. Let the light drift is optional; it moves the light on a slow fourteen-second loop. Dragging pauses that drift. Hidden and offscreen scenes stop updating, and the initial view is still.
Save the square prepares a 1600 × 1600 PNG with the current colour, treatment, build stage and typography. It includes the dark corners around the rounded card. The + control and studio labels stay outside the exported artwork.
Try: create a cover with one short word, then remove all copy to make an abstract icon. Save both and compare their balance.
YOUR TURN / SAME WORD, TWO MOODS
Keep the copy. Change the atmosphere.
Choose a short title and keep it across two cards. Make the first with Purple dusk, a soft horizon and a small star. Make the second with a cool glass edge and a stronger central glow.
Export both. Which feels calm? Which feels more immediate? Adjust the light placement before reaching for more decoration.
The self-contained starter includes all six treatments, the WebGL shader, Canvas typography, controls and gallery previews. Open it in a browser and edit the embedded code in a text editor. WebGL is required for the live studio; no server, installation or remote assets are needed.
// A soft elliptical field.
float lightPool(vec2 position, vec2 centre, vec2 radius) {
  vec2 delta = (position - centre) / radius;
  return exp(-dot(delta, delta));
}
// Bend coordinates, sample colour, then add a rim.
vec2 samplePosition = position + flow * waveOffset;
vec3 colour = base + lightColour * lightPool(samplePosition, centre, radius);